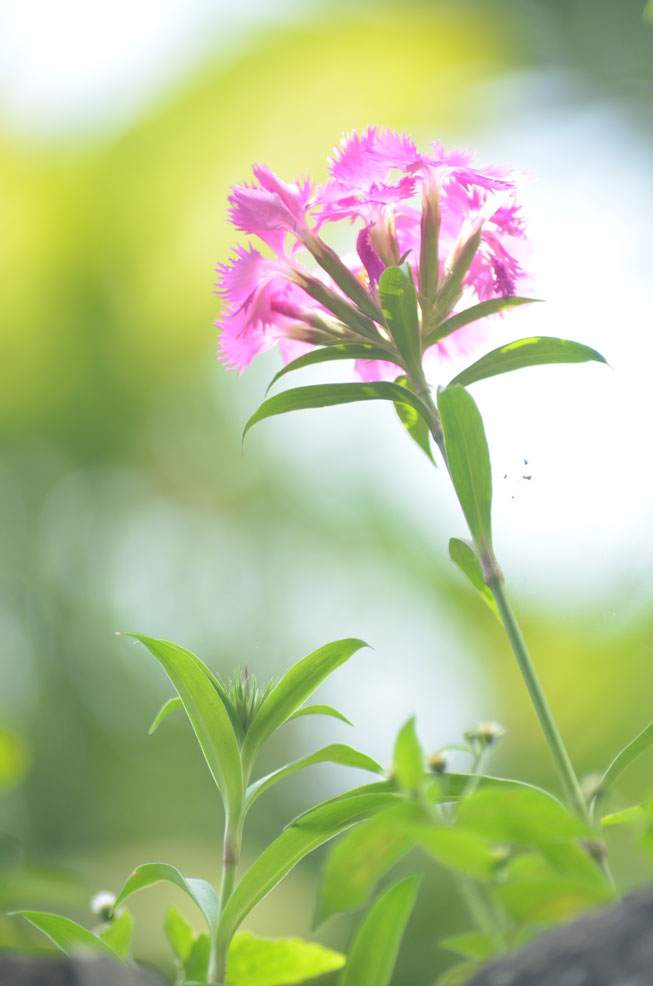
Buka Gambar dibawah in :

1. Tekan CTR + J Untuk menduplikate gambar
2. Goto Filter -> Unsharp Mask.
Dengan parameters :
Amount : 75 %
Radius : 1.5 pixels
Theshold : 0 lvels
3. Next, go to Filter -> Blur -> Surface Blur. As follow:
Radius: 10 pixels
Threshold: 10 levels
We have result of 3 steps above:
5. Brightness/Contrast: with parameters
Brightness: -5
Contrast: +5
6. Color Balance:
Check Preserve Luminosity (if it is unchecked)
Select Shadows and set parameters into Color Levels: -25 | -5 | -7
Select Midtones and set parameters into Color Levels: -15 | +11 | -31
Select Highlights and set parameters into Color Levels: -5 | +5 | +5
7. Levels (or CTR + L)
Channels : RGB
Input Levels: 6 | 0.88 | 235
Out Levels: 0 | 255
8. Continue with Levels:
Channels : RGB
Input Levels: 0 | 1.00 |255
Out Levels: 0 | 245
9. Curves: You set as figure :
First, with Channel: RGB
10. Final, we have a new picture, it looks sharper and brighter ^_^


0 comments:
Post a Comment